Updated on: 2026-04-14
Choosing the right rubber workshop mats can reduce noise, improve comfort, and protect your floor from heavy use. These mats are designed to handle tools, impacts, spills, and daily foot traffic in demanding environments. When selected correctly, they support safer footing and faster workflow by keeping your workspace organized. This guide explains what to look for, how to measure, and how to install and care for workshop mats for long-term performance.
Rubber workshop mats help create a stable, comfortable work zone. They protect flooring, reduce vibration, and manage moisture and debris. With correct sizing, thickness, and surface pattern, your mats can improve daily usability for many types of projects. Use this guide to select, install, and maintain them with confidence.
Essential Tips
- Start with the layout: measure the working zone and leave coverage where tools and foot traffic concentrate.
- Match thickness to the task. Thicker mats typically provide better impact cushioning and reduced floor strain.
- Choose the right surface pattern for traction and debris management.
- Confirm edge design. Bevelled or tapered edges can help reduce trips at transitions.
- Plan for cleaning. Pick mats that tolerate your typical workshop conditions, including oil and dust.
- Check compatibility with your floor type. Concrete, timber, and epoxy surfaces each benefit from different mat placement strategies.
- For heavy loads and daily use, prioritize durable rubber compounds and robust construction.
Detailed Step-by-Step Process
- Step 1: Define the mat purpose. Decide whether the priority is cushioning, traction, noise reduction, or floor protection.
- Step 2: Measure accurately. Measure length and width of the intended coverage area. Note door clearances and tool zones.
- Step 3: Choose the mat profile. Select a thickness and surface type that suits standing time, tool movement, and expected loads.
- Step 4: Plan mat orientation. Align the surface texture to how you walk and move equipment to support consistent grip.
- Step 5: Prepare the floor. Remove dust and loose debris. Ensure the area is clean, dry, and flat enough for full contact.
- Step 6: Install and secure if needed. Use tape or an anti-slip placement method if your floor environment requires extra stability.
- Step 7: Test transitions. Walk across mat edges and check tool movement paths to confirm there are no sharp or uneven changes.
- Step 8: Maintain on schedule. Sweep regularly and clean with appropriate methods that remove dust and residues without damaging the surface.
How to Choose Rubber Workshop Mats
When you search for rubber workshop mats, the goal is not simply to cover the floor. The goal is to match mat performance to your workshop conditions. A good selection improves traction, reduces fatigue, and limits wear on underlying surfaces.
1) Thickness and cushioning balance
Thickness influences comfort and resilience. For light hobby work, a moderate thickness can be sufficient. For heavy tool use, frequent impacts, and long standing periods, a thicker mat is often more effective at reducing shock and supporting a stable stance.
2) Surface texture for grip and debris control
Workshop floors often collect grit, metal particles, and dust. Texture helps prevent slipping and supports safe footing. Some workshop tasks benefit from a pattern that clears debris from walking paths, which helps maintain consistent traction over time.
3) Density and load capability
Mat density affects how well the product resists deformation under equipment and frequent foot traffic. If you place heavy items in the same area each day, choose a construction that maintains shape and reduces permanent flattening.
4) Edge design and safety transitions
Edges are a common source of tripping risk during daily movement. Consider options that reduce height differences at boundaries, especially at doorways or between work zones and clear walkways.
5) Chemical and moisture exposure
Workshops can include spills, coolant residue, and oil mist. While you should clean spills promptly, selecting mats designed for robust workshop environments can reduce the risk of early deterioration. Always follow cleaning guidance that matches your mat type and material.
6) Fit and customization for best coverage
Full coverage is often the difference between a mat that feels integrated and one that shifts or leaves problem areas exposed. Custom sizing can reduce uncovered corners where debris and moisture migrate. It also allows you to align mats with tool benches, machinery bases, and frequently used paths.
If your workflow includes high-impact zones, consider pairing mat zones with task-focused options across your workspace. For example, a dedicated anti-fatigue mat area can support long standing at a bench, while a separate general floor mat can protect the broader floor area. You can explore options such as anti-fatigue workshop mat and workshop mat for structured coverage.

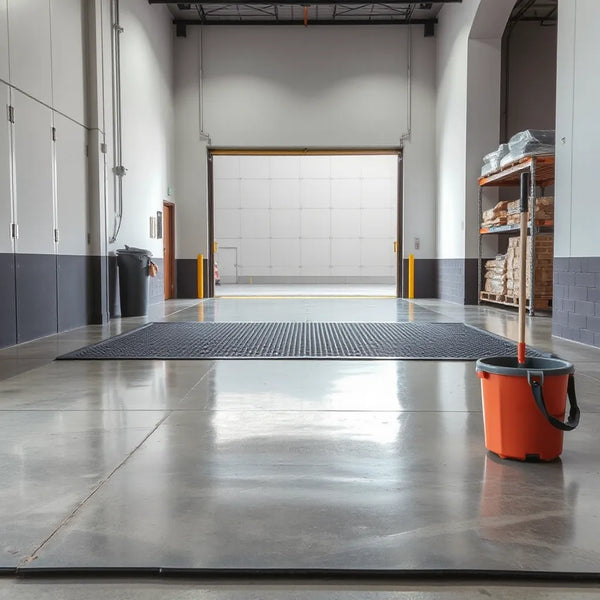
Textured surfaces, measured zones, edge transition icons
Installation and Layout
Effective installation extends the usable life of your rubber workshop mats. It also improves safety and comfort by keeping coverage stable. Layout decisions determine how well the mat supports daily movement patterns.
Choose the right coverage area
Start with the standing and working zones. If you frequently move between a bench and a tool area, cover the walking corridor as well. Add coverage where dropped parts and spilled liquids are most likely to land.
Align the texture and direction of use
Some mat textures are designed to support traction and debris dispersal. When you orient the texture to match how you walk, the surface can perform more consistently across the day.
Prepare the floor for stable contact
Surface preparation matters. Remove dust, oil film, or loose grit that can interfere with contact. Ensure the floor is dry and flat enough for the mat to sit evenly. Uneven contact can create edge lifting and faster wear.
Use secure placement where needed
For areas with frequent foot traffic, secure placement reduces movement. Depending on your floor type and workshop layout, a suitable non-damaging method can help the mat remain in position. When in doubt, test a small area first.
Plan for equipment loads
If you place equipment bases on or near the mats, confirm that the mat thickness and construction can handle that contact. Ensure the mat extends beyond equipment footprints if you expect movement or vibration in daily use.
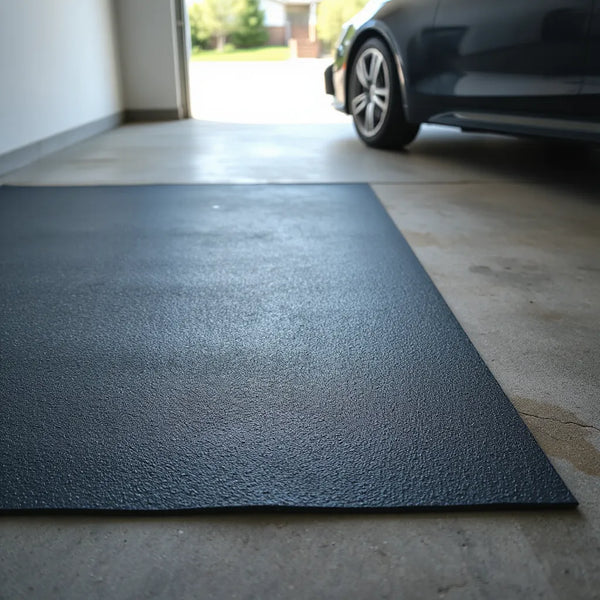
Complement with other mat categories
Many workshops benefit from multiple mat types. If your shop includes gym-like floor zones for training or mobility drills, a gym floor mat can support general activity areas. If you store or park vehicles nearby, a separate heavy-duty floor solution can reduce the impact of tyres and debris migration. For example, you may review a garage mat if your workshop shares space with vehicle storage.
Maintenance and Cleaning
Maintenance is a practical way to protect both appearance and performance. Rubber workshop mats can handle daily use when cleaning supports the material rather than damages it.
Daily and weekly cleaning habits
- Sweep or vacuum frequently. Remove grit and dust that can act like abrasion.
- Wipe spills promptly. Address spills quickly to reduce residue build-up and staining.
- Inspect edges regularly. Check for lifting, curling, or debris trapped along borders.
Spot cleaning for workshop residues
For oily residues or coolant residue, use a cleaning method appropriate for rubber surfaces. Work from the outside of the stain toward the center to prevent spread. After cleaning, allow the mat to dry fully before resuming heavy traffic.
Deep cleaning approach
For deeper cleaning, remove loose debris first. Then use water and a suitable cleaner that is compatible with rubber and intended for workshop environments. Avoid harsh agents that could compromise surface integrity. After cleaning, rinse if recommended and dry thoroughly.
Prevent abrasion and premature wear
Footwear with heavy soles can contribute to abrasive wear. Consider placing a small entry zone where feasible to reduce incoming grit. For metal-heavy work, keep a strategy for controlling particles so the mat surface does not become an abrasive surface over time.
Common Mistakes to Avoid
Many mat issues are preventable. The following mistakes commonly reduce performance and comfort in rubber workshop mats.
Choosing based only on appearance
Color and pattern can matter for design, but functional fit matters more. Select based on thickness, surface traction, and construction suitability for workshop tasks.
Underestimating coverage needs
Areas near doorways, machine perimeters, and walk corridors often show the earliest wear. Under-coverage can shift dirt and moisture into exposed floor zones.
Ignoring transitions and edge lifting
Sharp height changes or lifted edges increase trip risk and can speed up wear. Choose edge designs that support smooth transitions and confirm the floor is flat during installation.
Using inappropriate cleaning methods
Cleaning tools and chemicals can damage the surface. Use methods that are compatible with rubber and that remove residues without aggressive abrasion.
Not planning for tool vibration and impact
If your workshop uses heavy equipment that vibrates, place mats where vibration and impact contact occur. Proper placement reduces stress on underlying floors and supports more stable daily use.

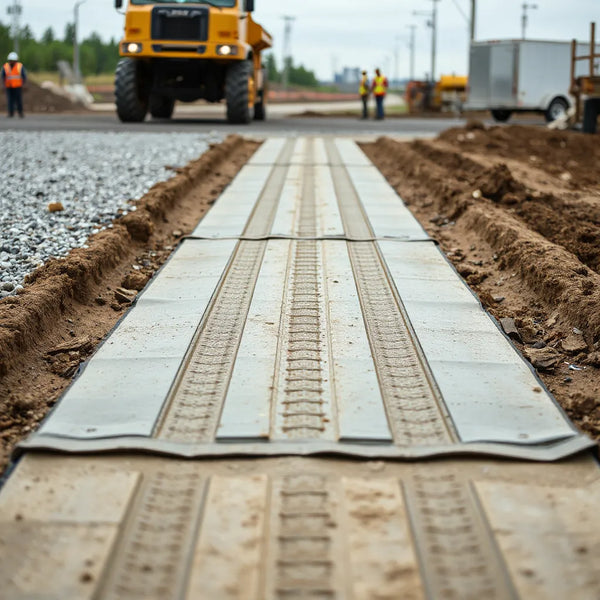
Workshop map with zones, arrows for foot traffic, checkmarks
Summary & Takeaway
Rubber workshop mats are a practical investment for comfort, safety, and floor protection. Choose thickness and texture to match the type of work, prioritize traction, and plan for smooth transitions at edges. Install with a clean, dry, and flat surface, then maintain with regular sweeping and timely spill cleaning. When your mat layout supports how you work, it improves day-to-day usability and helps keep your floor in good condition.
Q&A Section
How do I select the right thickness for rubber workshop mats?
Begin with the main requirement: cushioning for long standing, impact reduction for tool work, or general floor protection. For frequent heavy impacts and prolonged standing, a thicker mat typically offers better resilience. For lighter tasks, moderate thickness can be sufficient. If you expect consistent heavy loads in one area, select a construction that resists permanent flattening.
What surface pattern works best for workshop traction?
Traction depends on debris type and foot movement. A textured surface pattern helps reduce slip risk and supports debris management by limiting how particles build up on the top layer. Choose a surface that maintains grip under your normal workshop conditions, including dust and small debris from daily tasks.
How should I clean rubber workshop mats without damaging them?
Use a routine that removes grit regularly and addresses spills promptly. Sweep or vacuum first, then spot clean with a method compatible with rubber surfaces. After cleaning, allow complete drying before heavy use. Avoid harsh abrasion and aggressive chemicals that are not intended for rubber materials.
Can rubber workshop mats help protect a workshop floor from wear?
Yes. Rubber mats act as a protective layer between daily foot traffic, tools, and the floor. They can reduce abrasion from grit, help manage moisture exposure, and limit direct impact on the underlying surface. Full coverage in high-traffic and tool zones improves protection consistency.
About the Author
Factory Direct Mats is a provider with expertise in heavy-duty rubber and foam flooring solutions for garages, workshops, farms, gyms, and commercial environments. The team focuses on direct-from-factory products, custom sizes, and practical guidance that helps customers select mats that suit real working conditions. We encourage readers to measure their workspace carefully and choose mats based on traction, thickness, and daily use. Thank you for choosing a more durable and better organized workshop floor experience.
If you want guidance on the best options for your space, review available workshop solutions at Workshop mat options or explore related categories such as anti-fatigue workshop mat. For spaces that combine storage and heavy use, you can also consider garage mat.
Disclaimer: This article provides general guidance on selecting, installing, and maintaining rubber workshop mats. It is not a substitute for site-specific assessment, professional advice, or manufacturer instructions. Always follow the product documentation provided by the manufacturer for installation and cleaning practices.